1: Yakisugi Technique
At The Custom Cabin and Treehouse Company, we take pride in our unique timber living spaces and there is nothing more unique than the ancient art of Yakisugi.
In this blog we hope to teach you everything you need to know about this dynamic burning method of preserving wood, so you can do it yourself right at home.
The History
Yakisugi, perhaps unsurprisingly, originated from Japan around the 18th Century. Japanese carpenters are famous for their ability to build without the use of nails, screws, glue or electric tools and this method is no less striking. By burning the wood with fire, the charred surface not only becomes waterproof and protected from the elements, but also, (once charred and oiled) produces a scorched finish with an incredible charcoal black colour.
By burning the wood, the surface not only becomes protected from the elements, it also gives it an incredible charcoal
Applying this technique to your walls or cladding can help the wood last up to 80 - 100 years (without maintenance). And if you re apply oil every 10 years you can expect it to last even longer. The application of fire burns the cells in the wood causing them to shrink and consequently making the wood less permeable to elements that can damage it over time.
Nice one Japan. Now let's get you doing it.
Step 1 - Safety
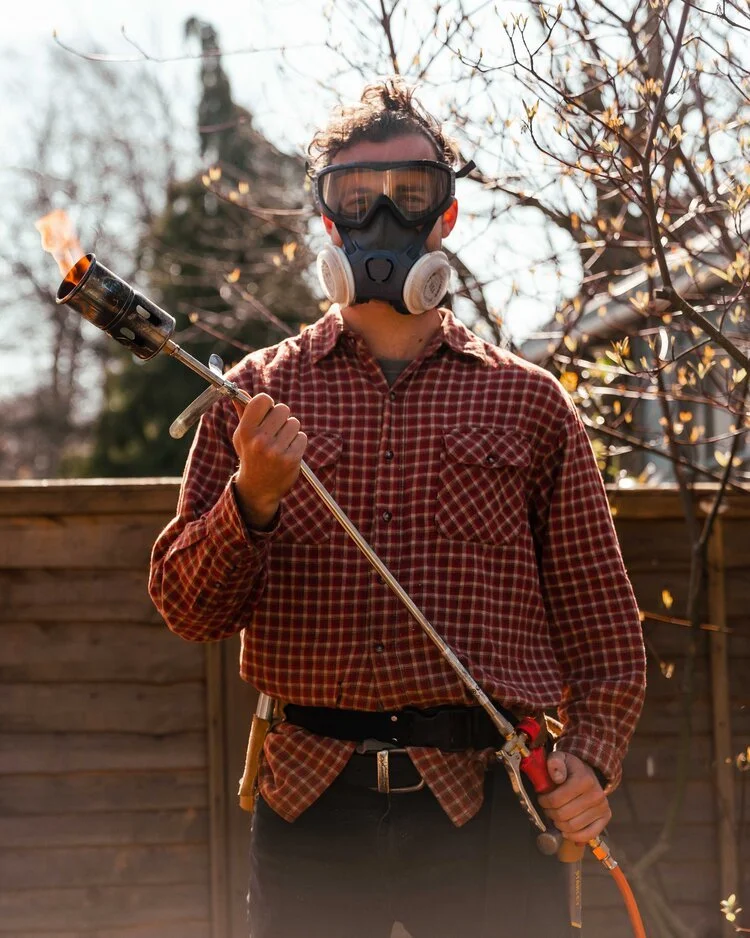
Working with fire has its obvious risks, minimize those risks by taking the following protective measures:
Burn the wood in an open space away from any other materials, preferably outside or in a large workshop.
Wear protective gear such as: gloves, goggles and respirator, burning wood can often give off fumes that are bad for you to inhale and sap from the wood (once heated) can spit off and burn unprotected skin
Bring with you a fire extinguisher and bucket of water incase the fire gets out of control
Despite working with an open flame, the risks of anything going wrong are minimal should you take all of the right precautionary steps.
Step 2 - Equipment
First things first, it's important you select the right wood. Traditionally cedar wood is the best to use for this technique. It's lighter and more porous than most, allowing the fire to engage with the fibres more vigorously creating the waterproofing effect desired. However, if you don’t have cedar don't worry. Pine, Hemlock, Maple and Oak will give the same desired finish.
Essential equipment you will need:
Propane Gas Tank (same as you’d use for camping)
Handheld blow Torch
Roofing torch
Wire brush
Protective oil
Most if not all of these items can be found in our local wholesalers.
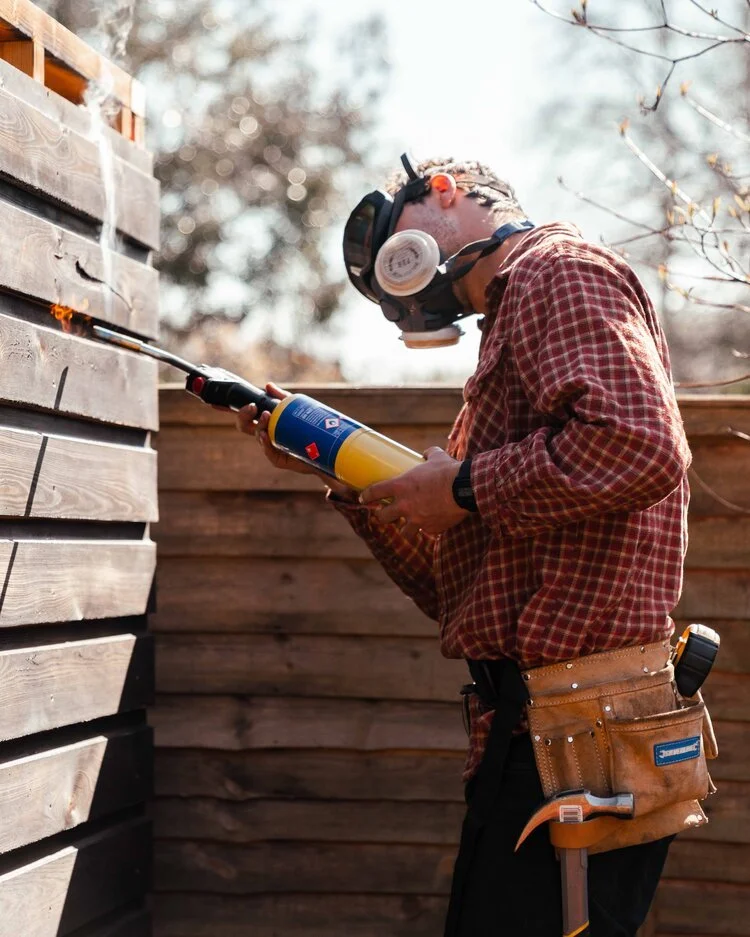
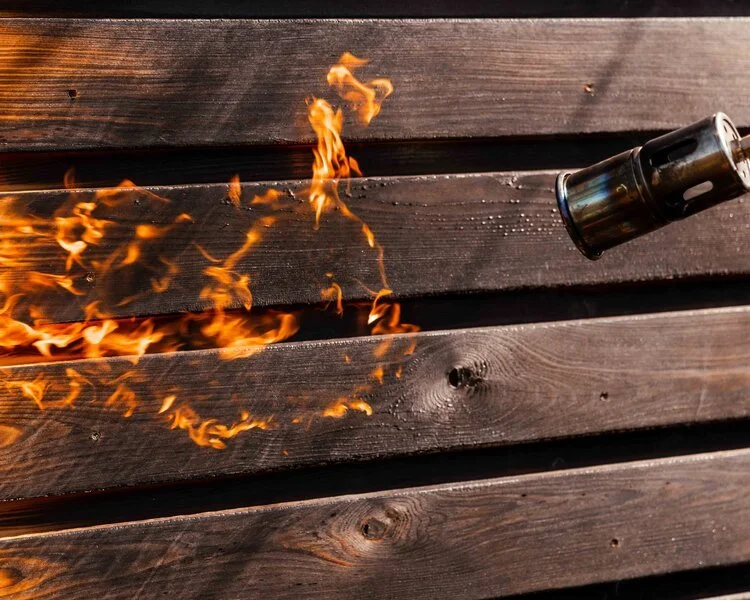
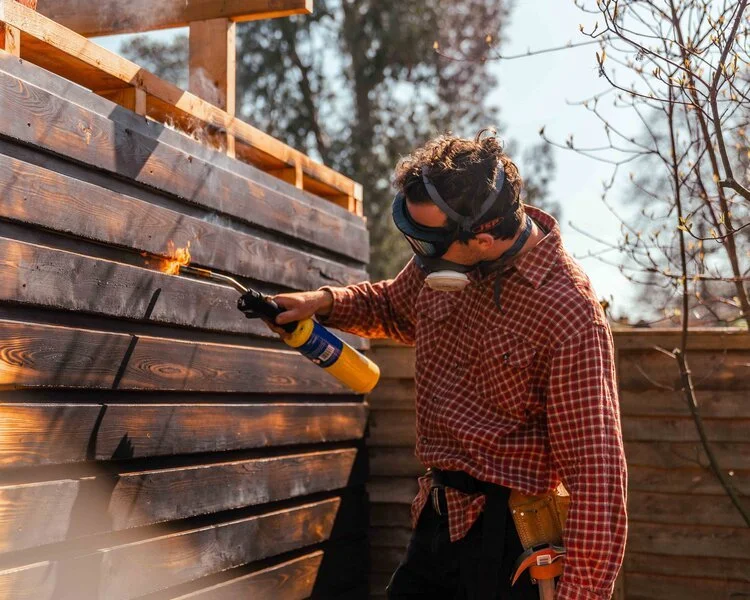
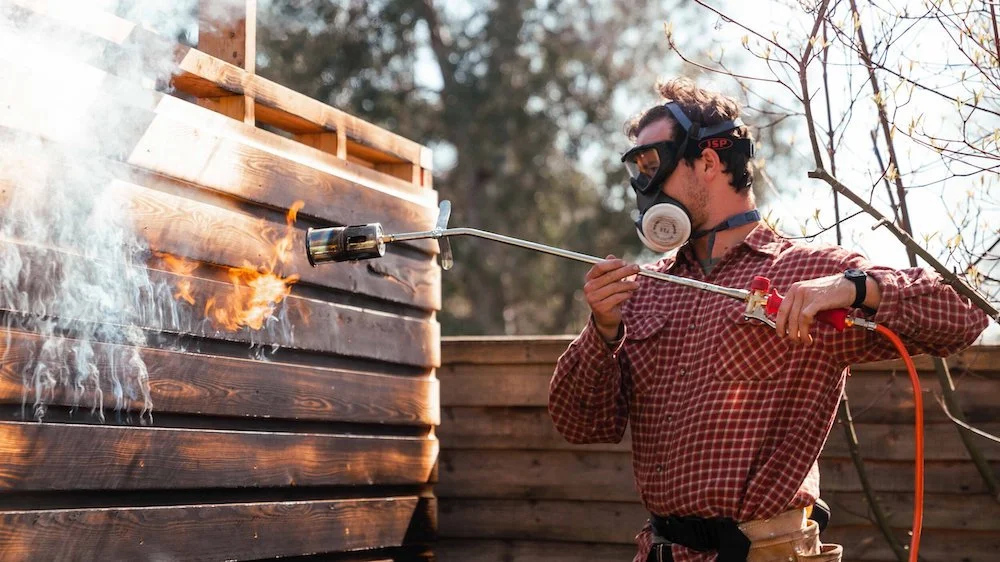
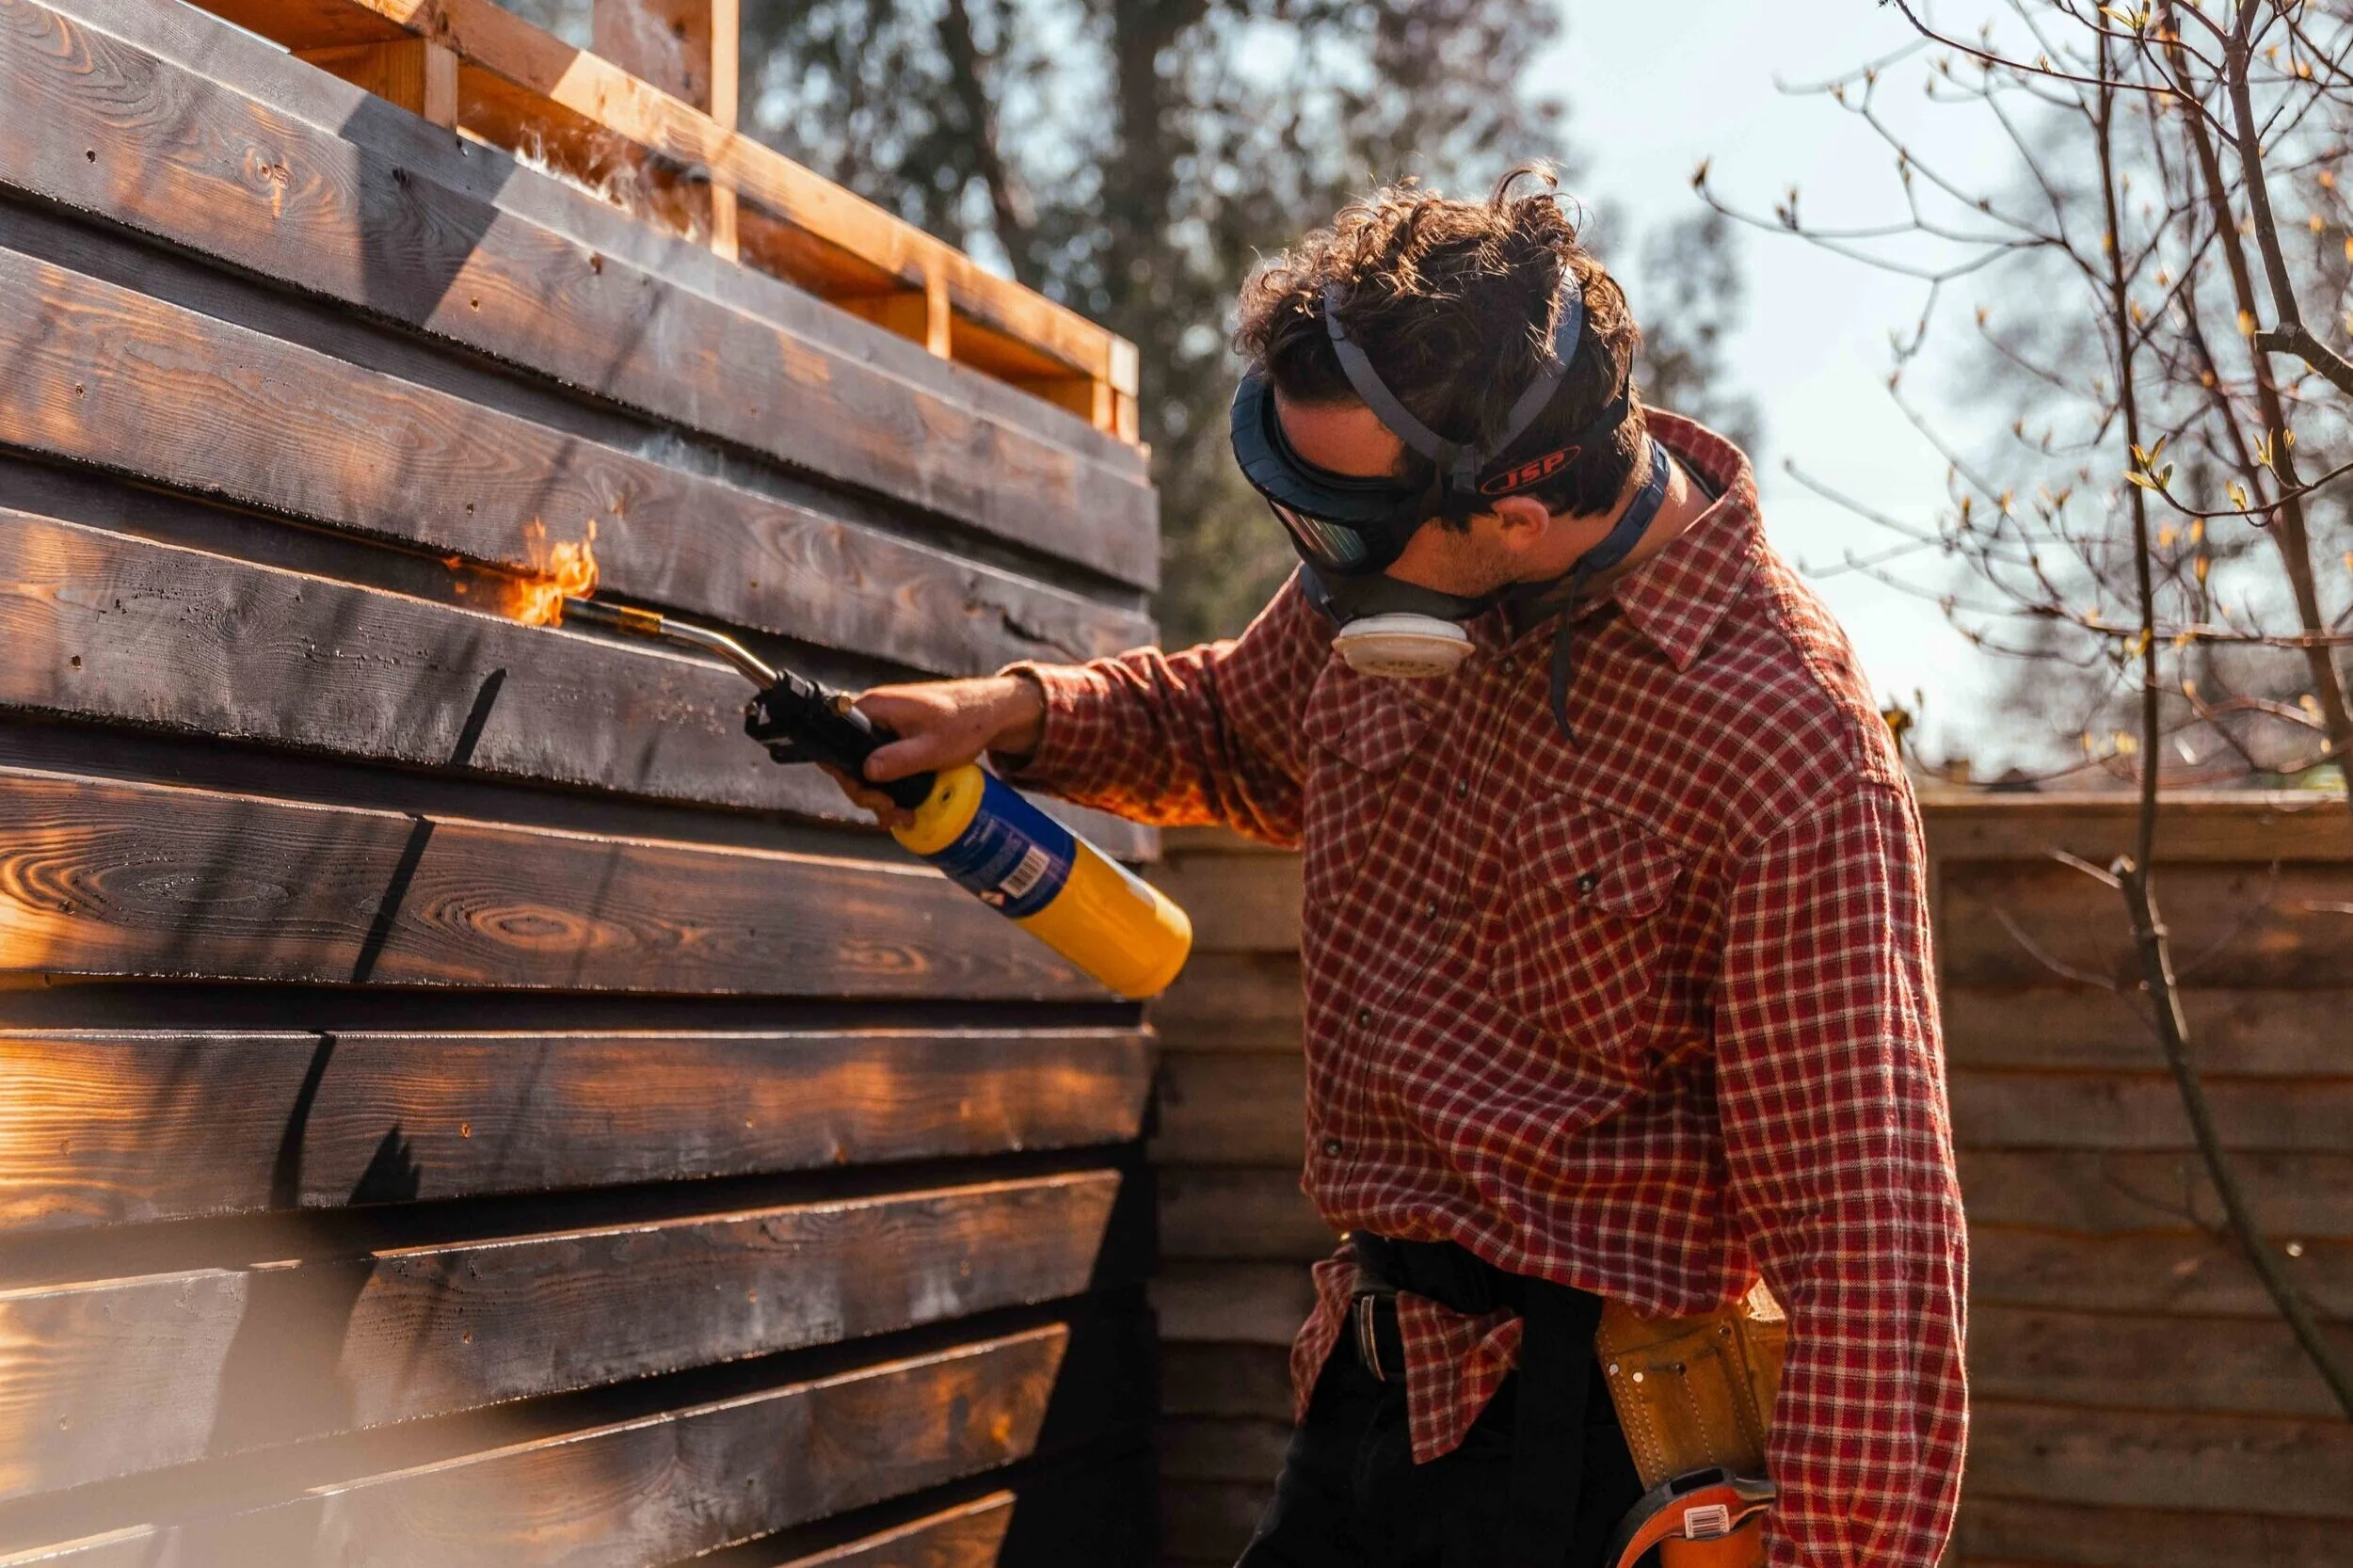
Step 3 - The Burn
Now for the fun part. Light up your torch and begin charring the wood. Hold the torch 20-30cm away from the surface you are burning and hold for about 5-7 seconds before you start to see the wood changing colour and burning. Once you see the wood start to char more quickly, move the torch with the grain, along the wood at a steady pace equal the speed at which the wood is turning a charcoal colour. Do this until your entire surface is the same colour, you can re go over any area that you might have missed with a smaller hand held torch afterwards.
Step 4 - Brush it
Take a stiff brush and take off the layer of soot / excess particles left by the charred surface. Brush along with the grain and pay particular attention to the edges, if brushing doesn’t get rid of all the soot you can use a damp cloth or blower to take off the excess material. Once brushed the wood should look slightly lighter than before (dark brownish black) and smooth.
Step 5 - Oil up
The jury is out on which oil is best to use. We used Boiled Linseed oil, this type of oil has natural drying agents helping to speed this process up. It leaves a glossy but not too shiny finish and is completely natural (don't consume). With a cloth or sponge apply a light layer of oil all over, making sure you don’t miss anywhere. Once the first coat is finished, wait until dry, then add a second layer.
And there you have it. All the steps you need to become a Yakisugi master. Try it at home and please let us know how you get on.
Also (like us) you are probably now proud owners of your very own blowtorch, remember with great power comes great responsibility. ;)
Until next time, all the best from Robbie and the team at The Custom Cabin and Treehouse Company.
CHECK OUT OUR FULL VIDEO BY JOY CREATIVE AND CO BELOW!